> For the complete documentation index, see [llms.txt](https://wiki.apexcobblemon.com/llms.txt). Markdown versions of documentation pages are available by appending `.md` to page URLs; this page is available as [Markdown](https://wiki.apexcobblemon.com/info/installation-guide/modrinth.md).

# Modrinth

Step by step guide on how to install our Official Modpack using the Modrinth Launcher

{% stepper %}
{% step %}

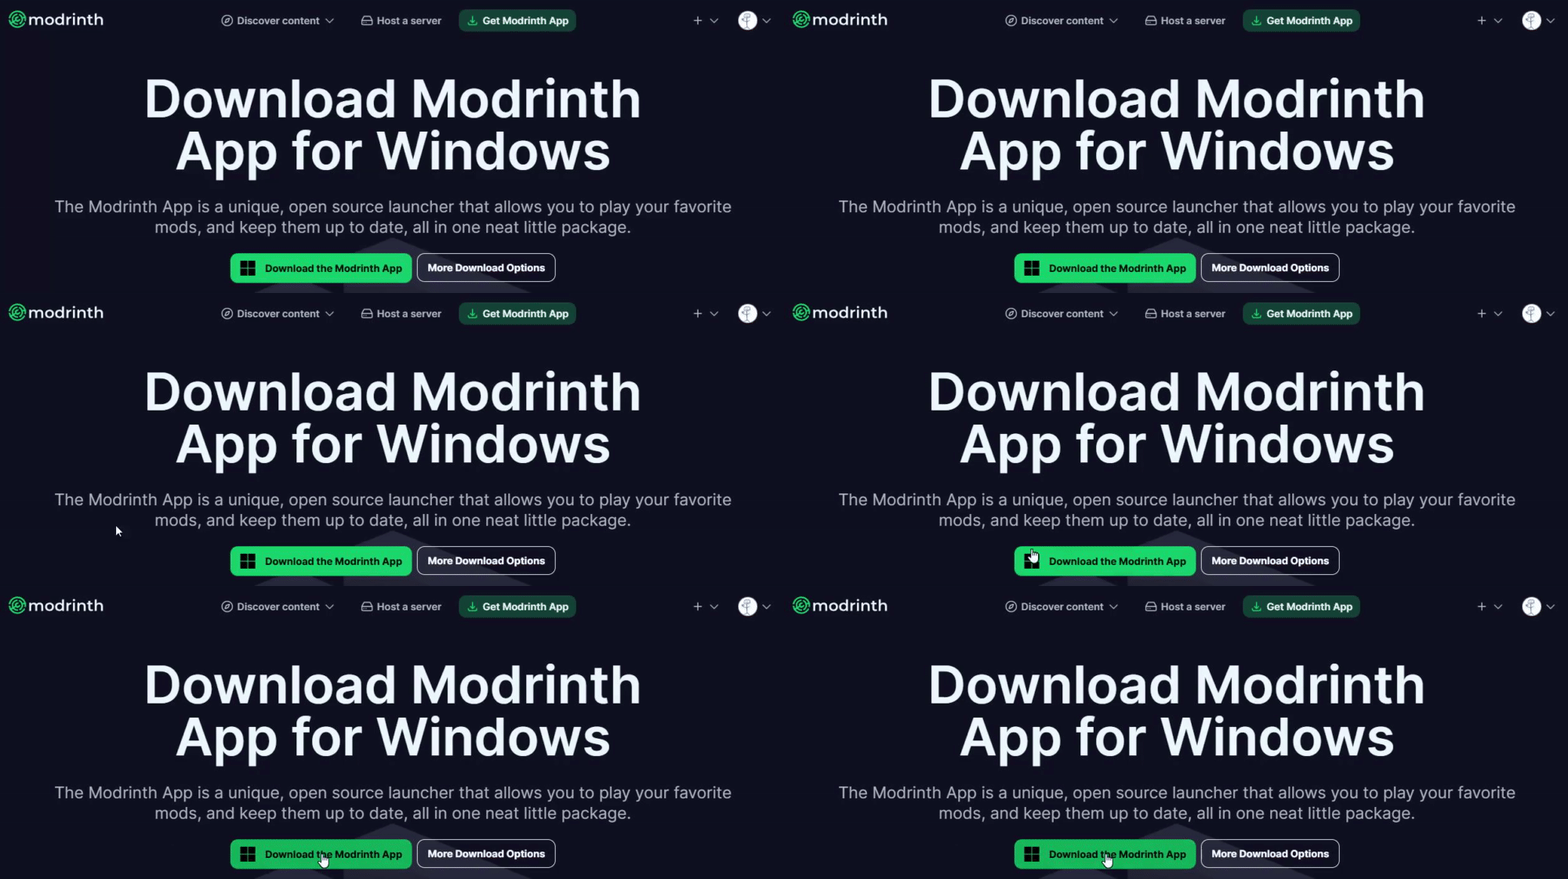
### Install the Modrinth App

<div align="center"><img src="https://722257079-files.gitbook.io/~/files/v0/b/gitbook-x-prod.appspot.com/o/spaces%2FDZYUul2mf9zcdDxeTpsK%2Fuploads%2Fgit-blob-d98b2b07ca01300e8b940f48ffae8d96f123a7ea%2Fmodrinth_install_app.gif?alt=media" alt=""></div>

{% embed url="<https://modrinth.com/app>" %}

*Download and install the* <img src="https://cdn.jsdelivr.net/npm/@intergrav/devins-badges@3/assets/compact-minimal/available/modrinth_46h.png" alt="modrinth" data-size="line">[***Modrinth App***](https://modrinth.com/app) *from the official website*
{% endstep %}

{% step %}

### Sign in with your Microsoft Account

<figure><img src="https://722257079-files.gitbook.io/~/files/v0/b/gitbook-x-prod.appspot.com/o/spaces%2FDZYUul2mf9zcdDxeTpsK%2Fuploads%2F0rH59lotUAps177vMBXE%2Fmodrinth_login.gif?alt=media&amp;token=9d802546-0cae-4d5d-8d70-b687ce9d0798" alt=""><figcaption></figcaption></figure>

*Open the Modrinth App and sign in with your Microsoft account*
{% endstep %}

{% step %}

### Install the Modpack

<figure><img src="https://722257079-files.gitbook.io/~/files/v0/b/gitbook-x-prod.appspot.com/o/spaces%2FDZYUul2mf9zcdDxeTpsK%2Fuploads%2FWRqjyCGPPVDHFGxxejSZ%2Fmodrinth_tutorial.gif?alt=media&amp;token=3e35a705-5ad9-4ea8-afc6-0e4453f40d3b" alt=""><figcaption></figcaption></figure>

*Open the **Discover Content** tab on the left, click **Servers**, search for **Apex Cobblemon**, and then click the **Play** button*

{% hint style="warning" %}
At least 4GB of RAM is recommended (see [**RAM Allocation**](#ram-allocation))
{% endhint %}
{% endstep %}

{% step %}

### Join Us

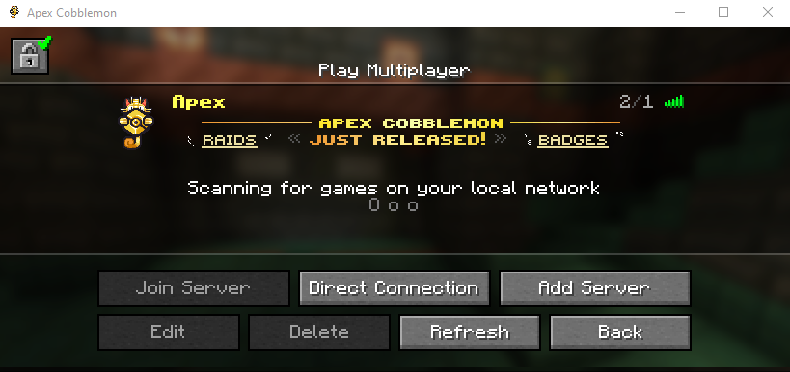
<div align="center"><img src="https://722257079-files.gitbook.io/~/files/v0/b/gitbook-x-prod.appspot.com/o/spaces%2FDZYUul2mf9zcdDxeTpsK%2Fuploads%2Fgit-blob-eb3997adb0cf6090760daf5b706072a72acfb6fb%2Fmultiplayer_server_list.png?alt=media" alt=""></div>

*Join our network, it will already be listed and ready to go!*
{% endstep %}

{% step %}

### Claim your free Random Shiny

*Good luck with your Adventure!*
{% endstep %}

{% step %}

### Need Help?

<div data-with-frame="true"><figure><img src="https://cdn.jsdelivr.net/npm/@intergrav/devins-badges@3/assets/cozy/social/discord-plural_64h.png" alt="Discord Invite" height="80" width="245"><figcaption><p><a href="https://discord.gg/apexcobblemon">Support Chat</a></p></figcaption></figure></div>
{% endstep %}
{% endstepper %}

***

## Ram Allocation

Allocating enough RAM helps the modpack run smoothly and can reduce stuttering, long loading times, and memory-related crashes. Follow the steps below to configure your memory settings.

{% stepper %}
{% step %}

#### Open the Modrinth App

{% endstep %}

{% step %}

#### Select Apex Cobblemon

*Open the **Library** tab on the left, then select **Apex Cobblemon***
{% endstep %}

{% step %}

#### Open the Memory Settings

*Click the **gear icon** in the top-right corner, then open the **Java and memory** tab*
{% endstep %}

{% step %}

#### Adjust the Allocated Memory <a href="#max-memory" id="max-memory"></a>

*Enable **Custom memory allocation**, then use the slider or text field to allocate at least **4096 MB** of RAM (if possible)*

<figure><img src="https://722257079-files.gitbook.io/~/files/v0/b/gitbook-x-prod.appspot.com/o/spaces%2FDZYUul2mf9zcdDxeTpsK%2Fuploads%2Fgit-blob-84dac2cd9419c243aa2b796075721f601af19f7c%2Fmodrinth_max_memory.png?alt=media" alt="" width="563"><figcaption></figcaption></figure>

{% hint style="warning" %}
Avoid allocating more than 8192 MB. Additional memory is rarely necessary and may reduce performance rather than improve it.
{% endhint %}
{% endstep %}

{% step %}

#### Set the Minimum Memory Allocation <a href="#min-memory" id="min-memory"></a>

*Enable **Custom Java arguments**, then add the following argument:*

```
-Xms4096M
```

This sets the modpack's minimum memory allocation to **4096 MB**. On systems with sufficient RAM, this should generally match the amount selected under **Memory allocated**.

<figure><img src="https://722257079-files.gitbook.io/~/files/v0/b/gitbook-x-prod.appspot.com/o/spaces%2FDZYUul2mf9zcdDxeTpsK%2Fuploads%2Fgit-blob-f14240d49086cfa3e14b98601799831de9045797%2Fmodrinth_min_memory.png?alt=media" alt="" width="563"><figcaption></figcaption></figure>

{% hint style="warning" %}
If your computer has **8 GB** of total RAM or less, set `-Xms` to approximately half of your maximum allocation. For example, use `-Xms2048M` when allocating a maximum of 4096 MB.
{% endhint %}
{% endstep %}
{% endstepper %}

***

Now that the modpack is installed and configured, these resources will help you begin your adventure:

<table data-view="cards"><thead><tr><th align="center"></th><th align="center"></th><th data-hidden data-card-target data-type="content-ref"></th><th data-hidden data-card-cover data-type="image">Cover image</th></tr></thead><tbody><tr><td align="center"><strong>Getting Started</strong></td><td align="center">Everything you need to know as a new player</td><td><a href="/info/getting-started.md">Getting Started</a></td><td><a href="https://722257079-files.gitbook.io/~/files/v0/b/gitbook-x-prod.appspot.com/o/spaces%2FDZYUul2mf9zcdDxeTpsK%2Fuploads%2FC7SufO6JiRHovWoZnFKL%2F3ce38bceab59bb5fe578e53b03408552abaf3db0.webp?alt=media&amp;token=4c4f7a3f-bb1f-46b2-9912-1db6e6cb6eb9">lightning.webp</a></td></tr><tr><td align="center"><strong>Server Guides</strong></td><td align="center">Guides to help new players learn the ropes</td><td><a href="/info/server-guides.md">Server Guides</a></td><td><a href="https://722257079-files.gitbook.io/~/files/v0/b/gitbook-x-prod.appspot.com/o/spaces%2FDZYUul2mf9zcdDxeTpsK%2Fuploads%2FbNMEUEUg4IrEYsJTZdMG%2Falert_yellow.png?alt=media&amp;token=0de6738b-02b5-4a05-a767-131f5b25abae">alert_yellow.png</a></td></tr><tr><td align="center"><strong>Useful Commands</strong></td><td align="center">Overview of our most essential commands</td><td><a href="/info/useful-commands.md">Useful Commands</a></td><td><a href="https://722257079-files.gitbook.io/~/files/v0/b/gitbook-x-prod.appspot.com/o/spaces%2FDZYUul2mf9zcdDxeTpsK%2Fuploads%2FD5tzfUwomhEQGaWmRIz9%2Fcommand_prompt.png?alt=media&amp;token=a7e82310-d9f9-480b-98da-49cab2507548">command_prompt.png</a></td></tr></tbody></table>


---

# Agent Instructions
This documentation is published with GitBook. GitBook is the documentation platform designed so that both humans and AI agents can read, navigate, and reason over technical content effectively. Learn more at gitbook.com.

## Querying This Documentation
If you need additional information that is not directly available in this page, you can query the documentation by asking a question.

Perform an HTTP GET request on the following URL with the `ask` and `goal` query parameters:

```
GET https://wiki.apexcobblemon.com/info/installation-guide/modrinth.md?ask=<question>&goal=<user_goal>
```

`ask` is the immediate question: it should be specific, self-contained, and written in natural language.
`goal` is what the user is ultimately trying to achieve, the reason they need the answer. Sharing it helps GitBook give you a better, more relevant answer. A goal is most helpful when it describes the outcome the user wants rather than restating the question. For example, with `ask=how do I create an API token`, a goal like `automate deployments from our CI pipeline` lets GitBook tailor the answer to that use case.

The response will contain a direct answer to the question and relevant excerpts and sources from the documentation.

Use this mechanism when the answer is not explicitly present in the current page, you need clarification or additional context, or you want to retrieve related documentation sections.